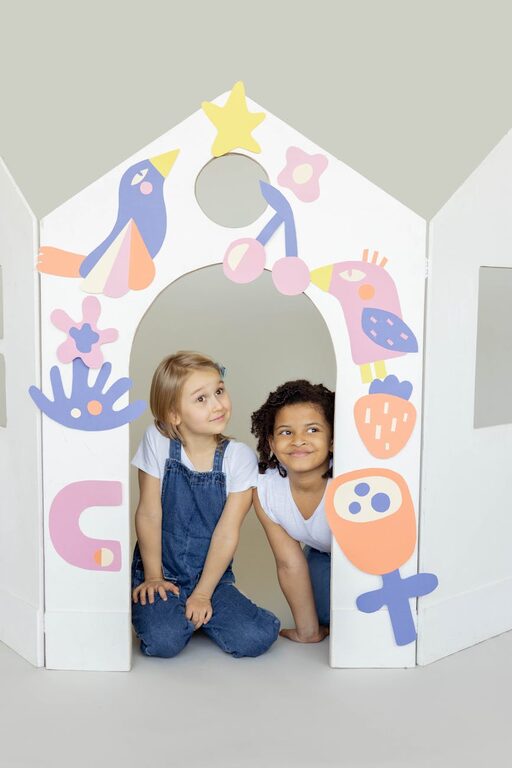
Bringing home a new masterpiece from school or a creative afternoon at home is always a joy. However, the colorful explosion of drawings, paintings, and crafts can quickly turn into a clutter challenge. Keeping your kids’ art organized not only helps maintain a tidy space but also makes it easier to cherish and revisit their creative moments.
In this post, we’ll share practical strategies, clever storage ideas, and inspiring tips to help you manage your children’s artwork with ease.
Why Organizing Kids’ Art Matters
Kids’ art captures their imagination and development at different stages. Organizing these creations can:
– Preserve precious memories
– Reduce clutter around the house
– Encourage kids to take pride in their work
– Make it easier to display and share their art
Being intentional about how you store and manage art projects ensures these memories last and keeps your home feeling calm and organized.
Start with a System
Before sorting through piles of paper, decide on a system that suits your space and routine. Consider these steps:
1. Set Up a Designated Art Station
Create a spot where kids can store finished artwork temporarily. This might be a folder, a basket, or a tray. Having a designated place prevents art from getting lost or scattered.
2. Sort Regularly
Make it a habit to review the artwork every week or month. Involve your child in choosing favorites to keep and deciding what to recycle or repurpose.
3. Categorize Your Keepsakes
Organize by date, theme, or child if you have multiple kids. This organization helps you find specific pieces easily.
Clever Storage Solutions
Finding the right storage tools can make all the difference. Here are several ideas:
Use Portfolios or Art Binders
Large, durable portfolios or binders with plastic sleeves allow you to store flat pieces neatly and protect them from damage.
Digital Archiving
Take photos or scan artwork and save them digitally. You can create slideshows, digital albums, or even print photo books that take up less physical space.
Display with Rotating Frames
Use frames or display boards that make it easy to rotate the latest artwork. This honors your child’s efforts while controlling the amount on display.
Storage Boxes and Containers
Label sturdy boxes where you can store 3D projects or bulkier crafts safely.
Creative Ways to Repurpose Art
Instead of letting artwork pile up, think about creative ways to reuse or showcase it:
– Turn drawings into greeting cards or gift wrap
– Make collages or scrapbooks together
– Use art as covers for homemade journals or notebooks
– Laminate pieces to create placemats
Involving kids in repurposing their art encourages ongoing creativity and values their efforts.
Tips for Maintaining an Organized Art Space
Keeping your art area tidy requires ongoing care. Here are some practical tips:
– Set limits: Decide on how much art you can realistically store before decluttering.
– Label everything: Use dates and names to track artwork, especially if you keep pieces long-term.
– Use vertical space: Clipboards, hanging organizers, or wall grids can keep artwork visible but out of the way.
– Make cleanup fun: Teach kids to put materials away after use so the art space stays welcoming.
Encouraging Kids to Take Ownership
When kids participate in organizing their art, they learn valuable habits and pride in their work.
– Let them help choose storage containers or folders.
– Involve them in digitizing or creating photo books.
– Celebrate their favorites by placing them in special spots at home.
– Discuss which projects represent important memories or milestones.
This partnership makes organization a shared experience rather than a chore.
Final Thoughts
Organizing kids’ art is a wonderful way to honor their creativity while keeping your home neat. By creating a system, choosing smart storage options, and involving your children in the process, you’ll create lasting memories and a clutter-free space.
Remember, the goal isn’t to keep every single piece but to celebrate the joy of creativity in a manageable, enjoyable way.
Happy organizing!
